via courtney khail stationery and design
Thought I'd share what I made this weekend while I was waiting on a few new pieces to dry. Given that wedding season is quickly coming upon us, our refrigerator is being taken over with invitations. Unfortunately, our magnet selection (which is a lovely array of sorority magnets, save the date magnets, free pizza magnets and bottle opener magnets) just wasn't able to do it all. Because I refuse to buy magnets (that aren't country flag bottle openers of course) I figured I'd just make some. There were only three requirements: 1) they had to be decently attractive 2) they had to hold things well and 3) I didn't want to have to buy anything.
After a little brainstorming I remembered that my sister has these fancy schmancy heavy duty metal clothespin magnets (that could hold a small child if need be) and given the weight of some of these invitations I figured something similar would be our best bet. Plus, I already had clothespins, paint, and magnets (thanks to our own extra save the date magnets)
This is how it went down:
Step 1- get all of the stuff you need together. In my case, that was a magnet, rubber cement, a clothespin, silver paint, scissors and a paintbrush. (I used a cheap foam brush I had in the back of my supply closet.)
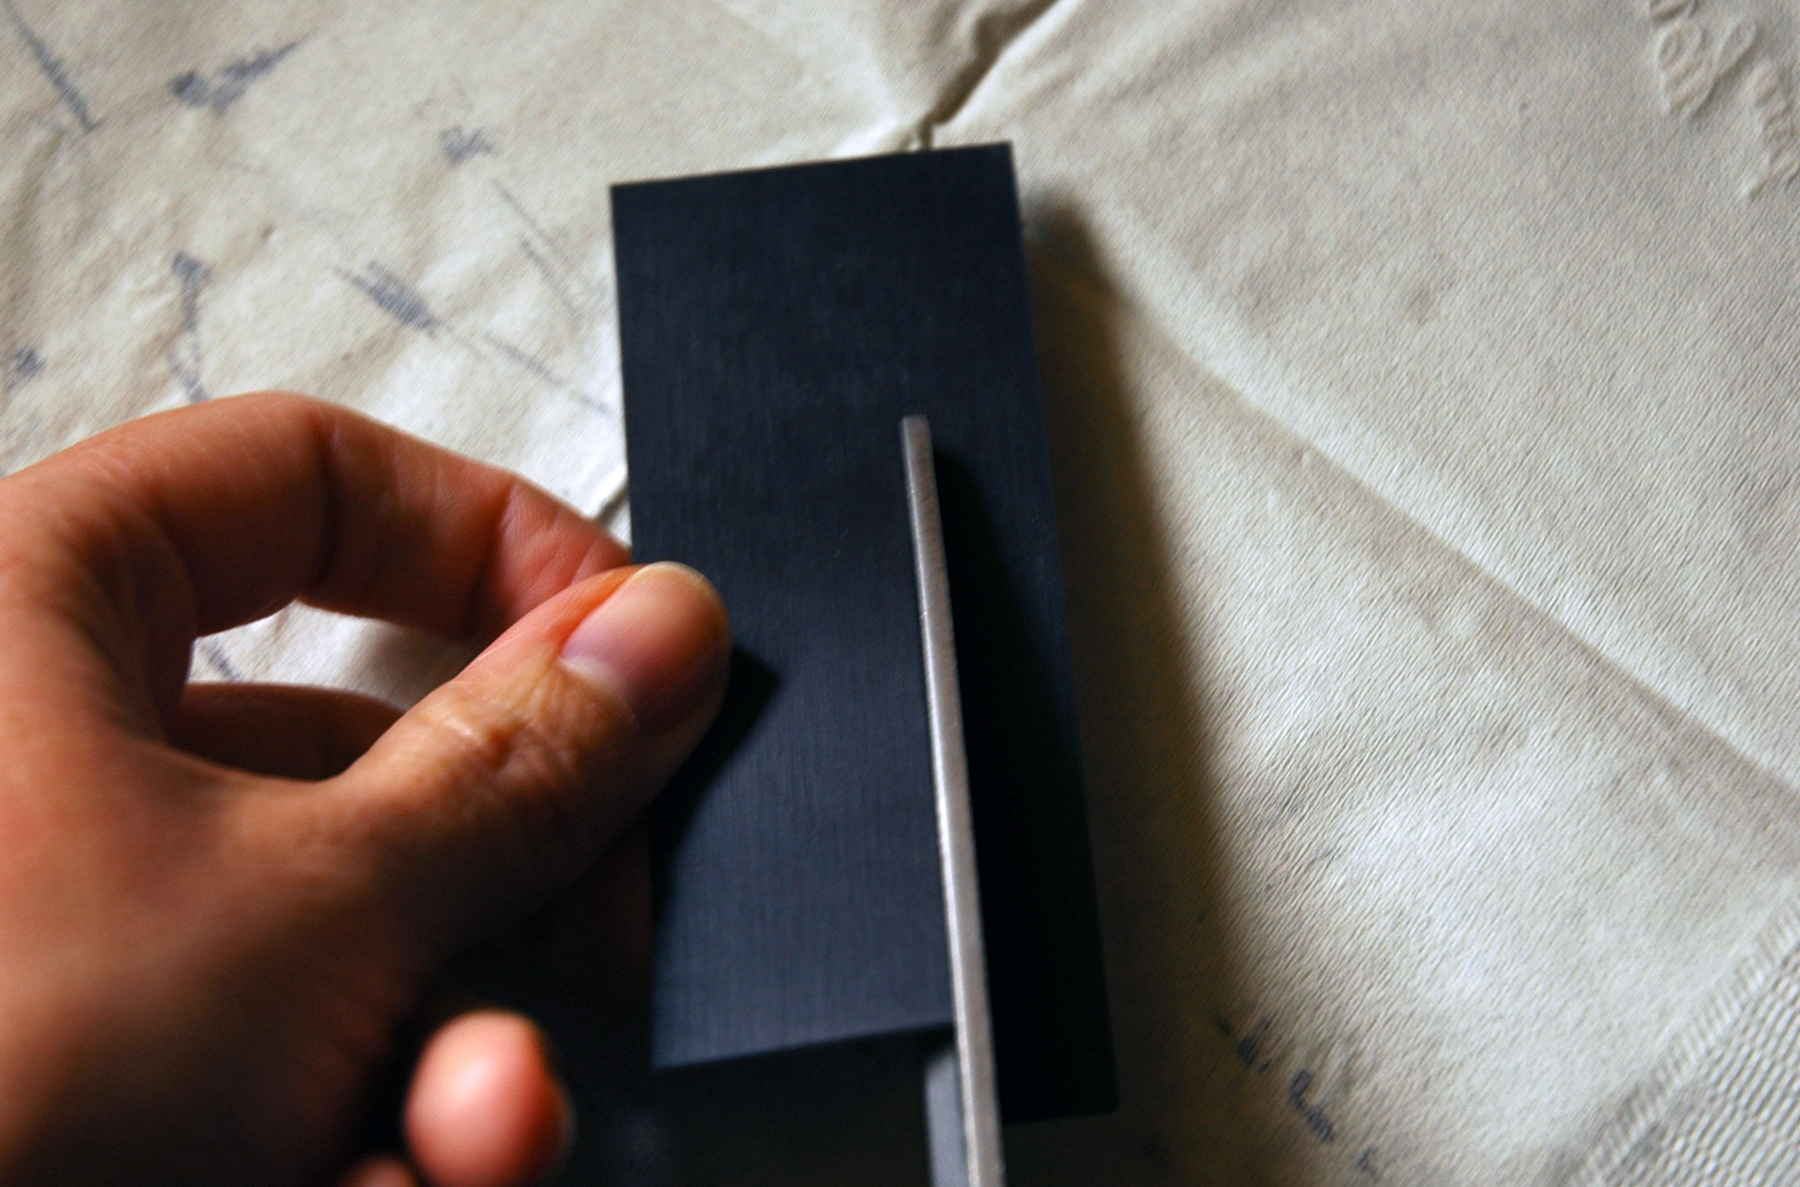
Step 2- Cut magnet to fit on back of clothespin. Using rubber cement, attach it to the back of the clothespin. If you are unlike me and have patience, give it a few minutes to dry. If you're more like me and hate waiting, blow on it once or twice and then start painting.
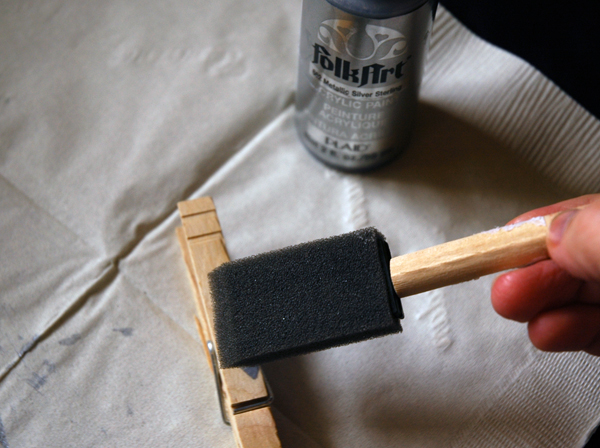
Step 3- paint the clothespin. I didn't like having to wait here either so I kind of just painted 3 quick even coats on and hoped for the best. Once that has dried (and I only waited for this because I quickly realized trying to open the clothespin while it was wet smeared off the paint I just put on) paint the visible insides of the clothespin and touch up any spot on the outside that don't look "silvery" enough.
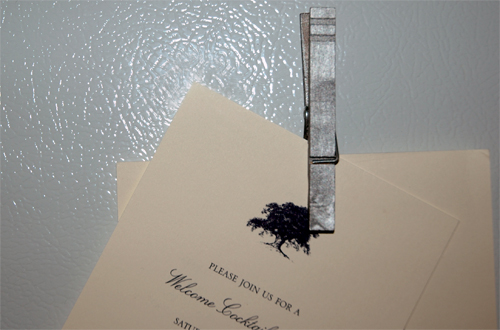
Step 4- Let it fully dry and then hang it up on your frig. (Try not too be super jealous of our beautiful white apartment frig. I know it may be difficult.)
Step 5- (optional) Step back and tell yourself how handy you are. Maybe call your mom and tell her what a handy daughter she raised, or drag your husband away from studying to see how cool of a wife you are and how much nicer the frig looks. (He may or may not tell you that you have too much time on your hands.) Ignore said comments and spend the next few minutes trying to figure out how much the clothespins can hold before they topple of the frig. (As of this morning, I've fit 3 invitations. Or 1 invitation with 3 pieces to it. And let's be serious here, if you're including more than 3 pieces in your invites you are saying too much and they won't make it onto my frig.)
So there you have it, how to make silver clothespin magnets.


