From the Studio

Studio Sneak Peek: Clothespin Magnet

via courtney khail stationery and design

Thought I'd share what I made this weekend while I was waiting on a few new pieces to dry. Given that wedding season is quickly coming upon us, our refrigerator is being taken over with invitations. Unfortunately, our magnet selection (which is a lovely array of sorority magnets, save the date magnets, free pizza magnets and bottle opener magnets) just wasn't able to do it all. Because I refuse to buy magnets (that aren't country flag bottle openers of course) I figured I'd just make some. There were only three requirements: 1) they had to be decently attractive  2) they had to hold things well and 3) I didn't want to have to buy anything.

After a little brainstorming I remembered that my sister has these fancy schmancy heavy duty metal clothespin magnets (that could hold a small child if need be) and given the weight of some of these invitations I figured something similar would be our best bet. Plus, I already had clothespins, paint, and magnets (thanks to our own extra save the date magnets)

This is how it went down:

Step 1- get all of the stuff you need together. In my case, that was a magnet, rubber cement, a clothespin, silver paint, scissors and a paintbrush. (I used a cheap foam brush I had in the back of my supply closet.)

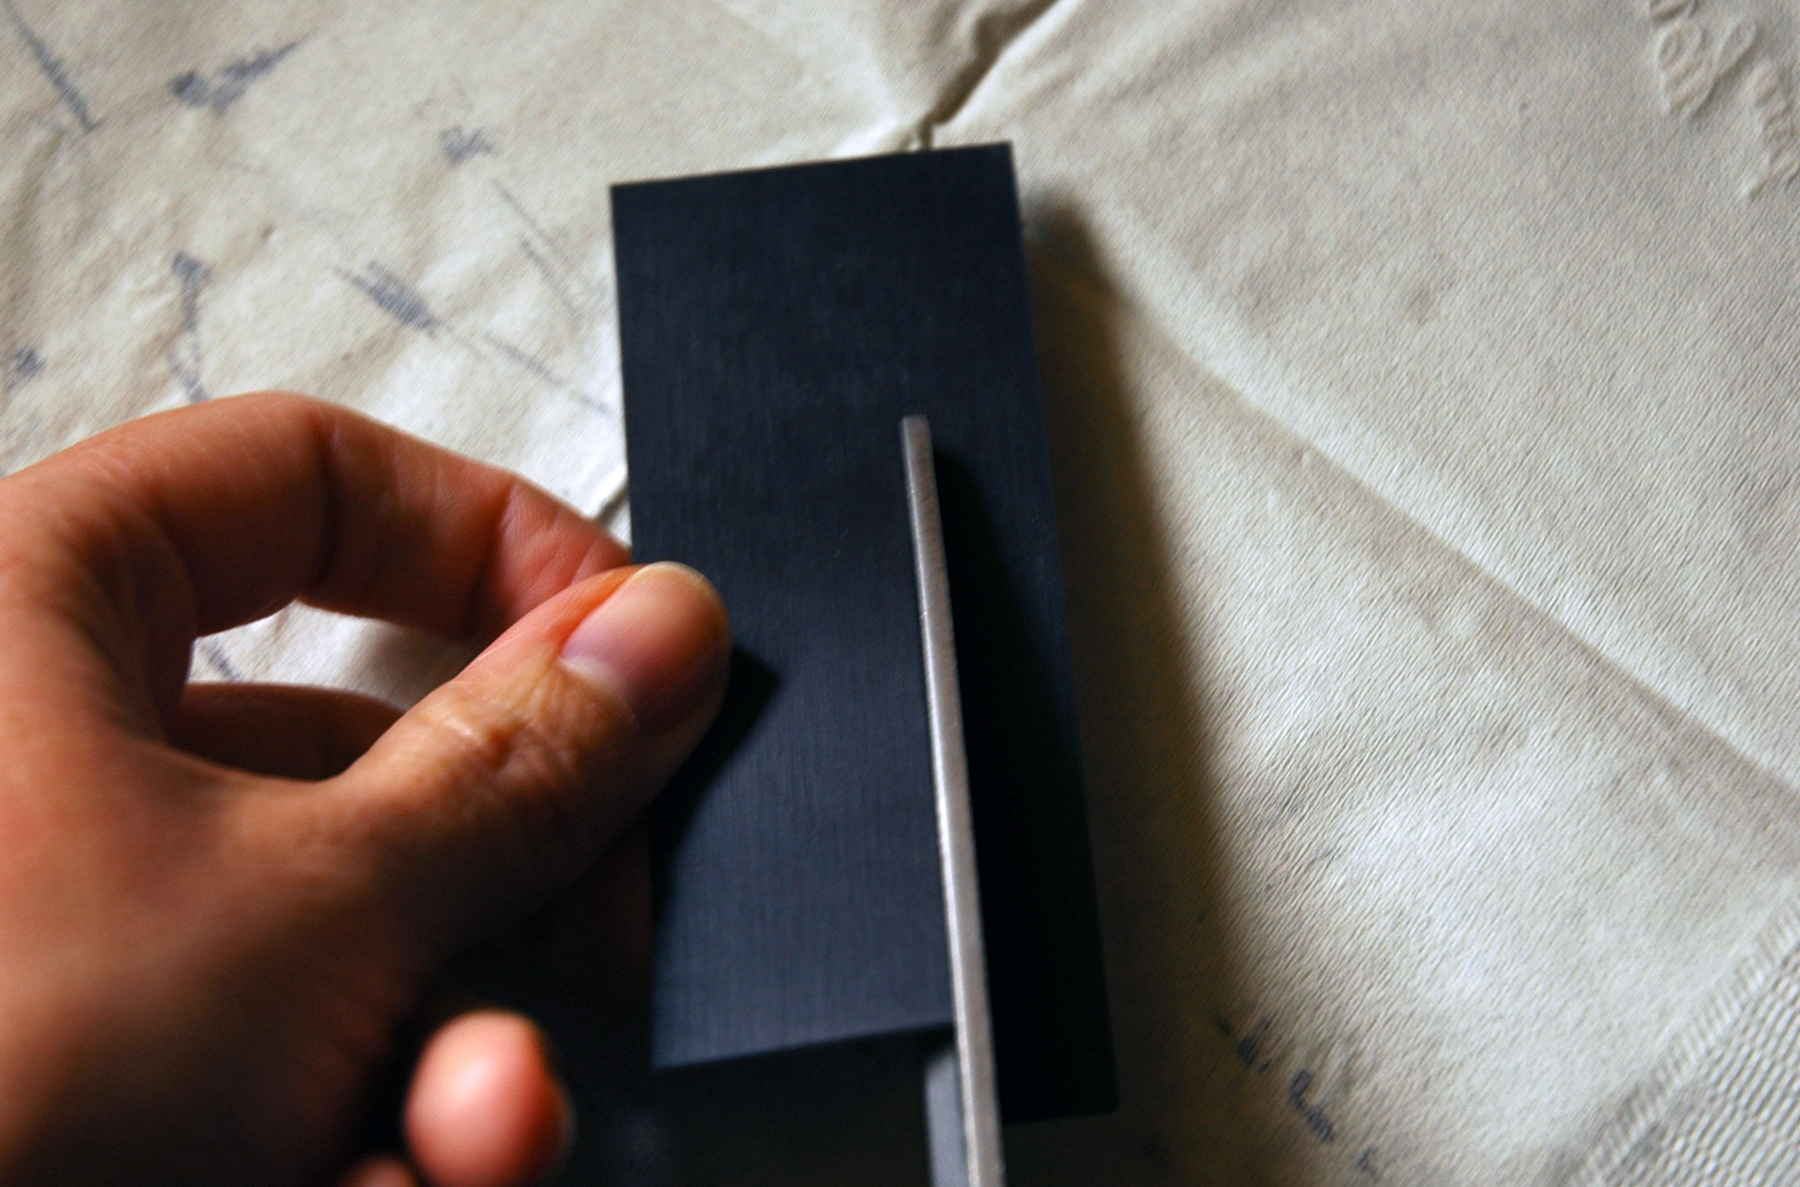
Step 2- Cut magnet to fit on back of clothespin. Using rubber cement, attach it to the back of the clothespin. If you are unlike me and have patience, give it a few minutes to dry. If you're more like me and hate waiting, blow on it once or twice and then start painting.

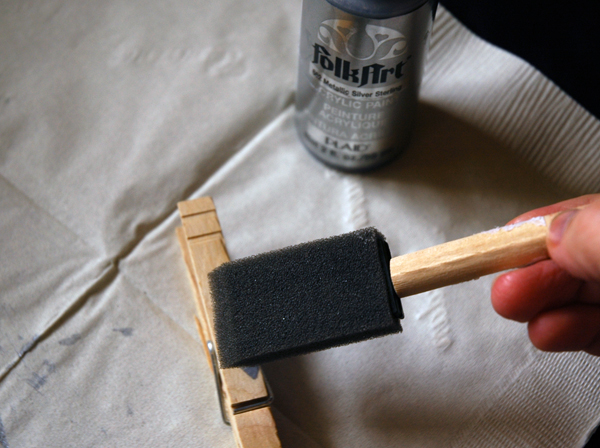
Step 3- paint the clothespin. I didn't like having to wait here either so I kind of just painted 3 quick even coats on and hoped for the best. Once that has dried (and I only waited for this because I quickly realized trying to open the clothespin while it was wet smeared off the paint I just put on) paint the visible insides of the clothespin and touch up any spot on the outside that don't look "silvery" enough.

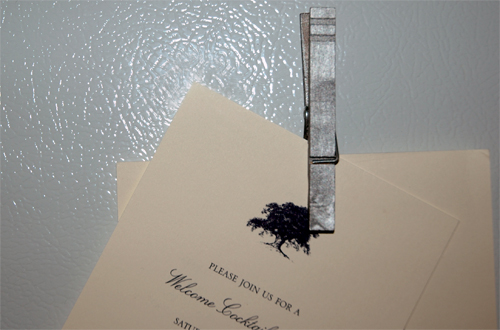
Step 4- Let it fully dry and then hang it up on your frig. (Try not too be super jealous of our beautiful white apartment frig. I know it may be difficult.)

Step 5- (optional) Step back and tell yourself how handy you are. Maybe call your mom and tell her what a handy daughter she raised, or drag your husband away from studying to see how cool of a wife you are and how much nicer the frig looks. (He may or may not tell you that you have too much time on your hands.) Ignore said comments and spend the next few minutes trying to figure out how much the clothespins can hold before they topple of the frig. (As of this morning, I've fit 3 invitations. Or 1 invitation with 3 pieces to it. And let's be serious here, if you're including more than 3 pieces in your invites you are saying too much and they won't make it onto my frig.)

So there you have it, how to make silver clothespin magnets.

Studio Sneak Peek: Limited Edition Hostess Gift

copyright courtney khail stationery and design

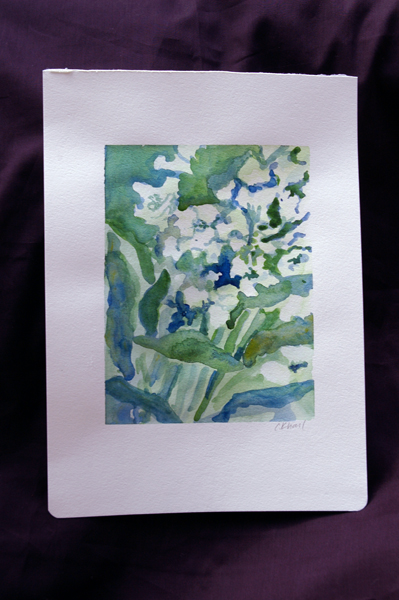
A few weeks ago, I received an email from a bride asking if I could create hostess gifts for the women throwing her a shower. She knew she wanted a poem included, but besides that she was open to suggestions. Because they were gifts, I thought it would be nice to create a limited edition set of paintings with a custom design. Referencing a sketch I drew, I created 33 paintings using the aubergine and bells of Ireland green color scheme she requested. Each one is a little different from the last and is signed, dated, and marked with it's corresponding series number. (And since it's a limited edition, these 33 paintings will be the only ones ever to feature this specific design.)

Studio Sneak Peek: Taxes

The only real problem with a Studio Sneak Peek day is that sometimes the studio is kind of, well, boring. Not that there isn’t a ton going on, but sometimes the majority of those things are more managerial in nature and therefore don’t make for great photos. Today is one of those days. No matter how lovely the composition, no one is ohhing and ahhing over me answering emails.

The biggest example of one of these less than exciting tasks would be taxes.* Personally, I don’t find taxes to be very fun at all (I’m all for the fair tax) and I have yet to find a tax moment that needs to be documented with a photo. Actually, I take that back. I did a little dance when I saw that something would come back to us and given my dancing “style” that may have been entertaining to you all. But only a video would capture my “pure talent” (hahaha) and I’d rather not have a video of me anywhere on the internet.

Anyhow, back to the point. Since the act of filing taxes is pretty dry (and convoluted) I thought I’d tell you how I stay organized since that seems to be a question I’m asked on a fairly regular basis by other people trying to start a business. If you have no interest in how I stay organized, feel free to stop reading :)

To me, organization is synonymous with binders. I love my binders and when it comes to business bookkeeping, I have two. (I attribute my love of binders back to when I worked for a law firm in high school. Every single case had its own incredibly organized binder, which kept everything in one place.). One binder- the smaller of the two-is on my desk and the other “big binder” is neatly tucked away in my supply closet. The desk one is separated into 12 sections and labeled by month. Under each month section I have 2 additional sections- income and expenses- the latter of which includes a sheet protector. I print every paid invoice, hole punch it, and then put in under the appropriate “income” section (i.e. if it’s a January invoice, it goes under January income) and for every bill I receive, I do the same and put it under the expenses section. (Receipts I’ve collected go in that months sheet protector.) When the month is finished, I simply input the information into an excel spreadsheet which totals everything up. This way, I can easily track my business throughout the year and at the end of the year all I have to do is print my spreadsheet to do my taxes. All of the “hard copies” are neatly tucked away in my desk binder in case I ever have a question or need to find something.

The big binder holds all of my past tax information separated by year. Once my taxes are filed, all I have to do is transfer the files from my small binder to my big binder and put it back on the shelf. No more digging through boxes or filing cabinets to find that receipt from 2008 or that invoice from 2009- now all I do is open the binder, flip to the year and month I need and there it is.

Hopefully some of you found that to be helpful, but either way I promise to have photos of painted work up next week! *I'm super lucky that my father in law is a CPA so he takes on the task of actually filling out our tax paperwork. Apparently he doesn't find it to be as annoying or confusing as I do which rocks and I am incredibly grateful for.

Studio Sneak Peek: Jeremy Clarkson

via Quote Vadis

“One thing I’ve noticed over the years is that if you drive into London at 6am, half of the cars on the roads are Porsches and Astons. Whereas if you go in at ten to nine, they’re all Renaults. Simple solution, then. You want a nice car? Get up earlier and do more work.”

Okay, so it's not exactly a studio sneak peek (and by not exactly I mean, not at all. But I promise there is a good reason for this that I'll share...next week.) but I saw this quote over on Quote Vadis and just had to share it because:

1) It's true.

2) I like Jeremy Clarkson. It may be because I have developed a love for the show Top Gear* (thanks to J. who introduced it me to it when we first started dating,) but most likely it's just because I enjoy his sense of humor. A slightly inappropriate, incredibly sarcastic, tell it like it is kind of sense of humor.  And let's be serious here- it definitely doesn't hurt that he has a British accent.

Happy Monday everyone!

*little known fact about Top Gear... it has an EIGHTEEN YEAR waiting list to be in the audience. Eighteen years! Looks like I better put our names on the list now.

Studio Sneak Peek: Workin

via me

So it's 9:15p here and I'm still at my desk working. Of course, given I love what I'm doing I guess I shouldn't call it working, but "sitting here drawing" seems kind of like I'm rubbing that fact in to anyone sitting around working on taxes or something else fun like that. I would love to have posted something more fun for today's studio peek, but to be honest I've been kind of swamped today. From trying to get side projects finished up and emails responded to, to getting my oil changed and finally getting around to grocery shopping, I haven't really sat down. And seeing as I started at 6:18a, I'm kind of running on empty. (For any of you that know me- or just read my blog regularly enough- I am NOT a morning person. 8:30a is "early" for me, but the AC wasn't working last night and I couldn't really get comfortable/actually fall asleep, so when the dog got sick at 6a, I gave up trying to convince my body to fall asleep and just got up and took a shower. I will admit though, I did get back in bed and napped for another 30 minutes, but mostly so I could get out of drying my hair. I really don't like drying my hair.)

This was the "running on empty" where neither J nor I had the energy to cook a real dinner (2 finals for him today) so I ended up making a cheesy pasta thing (despite the fact we're both lactose intolerant) and ate it in front of the computer with a sketchbook in my lap. (My mom says she always knows when we haven't eaten at the dining room table because our salt and pepper shakers are on the coffee table.)

And then I glanced at my watch (okay so it was actually my computer clock) and saw what time it was and that I STILL hadn't posted anything.

So I took a picture of my desk. See? It's a real studio sneak peek. (ta da!)

Studio Sneak Peek: Painting with Amy Osaba

This past week I had the opportunity to hang out with Amy Osaba and paint some of her amazing creations. First off, let's talk about Amy. She is awesome. Super warm and welcoming. She offered me something to drink within .5 seconds, introduced me to her family- which by the way her sons are adorable (her oldest called my work phenomenal. He is 7 and completely melted my heart) and her mother is hilarious- and didn't seem to mind at all when I sat in on the team doing their thing. (Even when I picked up shears- is that what they're called?- and asked to help with the prep.) So yea, she's pretty cool and I'm thrilled I was able to get to hang out with her.

Now let's talk about her work. If you haven't seen her pieces yet (where have you been?) go take a look at her website. Or any wedding blog for that matter because she's loved by all of them. Each piece has a unique organic feeling-nothing is stuffy or overworked and yet they all have some unexpected twist to them. It's almost as if the flowers are dancing with each other- the textures and colors pushing and pulling your eyes around the arrangements. (And seeing as Amy used to be a ballerina, this makes complete sense.) As soon as I saw her work, I knew I wanted to paint it and finally (after psyching myself up and telling myself to stop being such a chicken) I sent her an email and asked if she'd mind.

Luckily, she didn't mind at all.

And after two phone calls for directions, various conversations ranging from how Amy Grant's Baby, Baby was stuck in my head to why we didn't like the fact that Taylor Swift dated Jake Gyllenhaal, 100s of beautiful flowers, 1 mini art lesson with her son, and 4 hours later- here is what was created. (even if it goes without saying...all images copyright of courtney khail)

Thank you so much for letting me come over, Amy! I had such a great time and can't wait to do this again. And I promise a painting will be on the way to you shortly!

Studio Sneak Peek: Valentine's Day

all photos via courtney khail

I kind of take a holiday for Valentine's Day (which should explain why I'm just now posting this at 10p.) Unlike most people who simply exchange gifts, maybe go out to dinner, etc. I get really into it. Like, wake up, answer emails and then immediately start baking 4 dozen heart shaped lemon sugar cookies kind of into it. (For the record, I gave 2 dozen away and have 1 dozen wrapped up for the rest of the week. As for the other dozen... I'm going to say Cupid stole them. Better than saying that I think we may have polished off 12 cookies in 5ish hours...especially since I was trying on bathing suits about an hour ago. Nothing says lay off the cookies like a bikini.) Anyways, back to the point.

Once I baked (a completely normal amount of cookies for two people) I headed over to the farmer's market (where everyone and their mother apparently decided they wanted to learn to cook and or buy flowers today) and did our grocery shopping. I really should have planned better and not gone shopping on Valentine's Day, but what can I say- I'm a creature of habit and I like Monday morning shopping. After dodging the 50+ men in line to buy roses (and then this one guy who bought this massive multicolored rose sunset looking arrangement thing,) I finally made my way to the beef counter and picked up a few bone in short ribs for dinner tonight (and by picked up, I mean I had to beg the man to cut 4 fresh bone in short ribs since they were out.  "Valentine's Day" and/or "sick husband" may or may not have slipped out, but I'm going to go ahead and say he only cut them because he didn't want to deal with the woman who wanted EXACTLY 1/2lb of ground chuck who was behind me. Either way, I left with my beef in hand.) And despite the crowds and a few barely missed accidents in the parking lot (if someone is honking, please do not keep backing up before you look and see if they are trying to stop you from hitting them) I did get to wish a sweet older woman in an awesome red hat and my cashier (who's family is all back in her home country) a Happy Valentine's Day and that in itself was worth it.

(Like my long story? Yep. Still not done.)

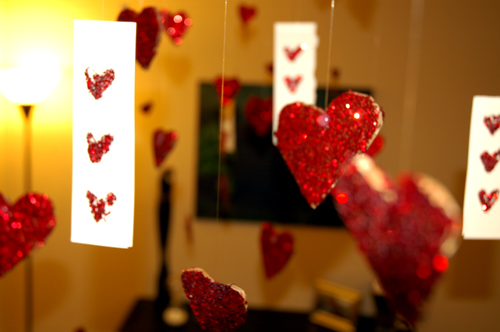
Once I got home I banished J. to the office (telling him he couldn't come out until everything was finished) and then I started making this (and oh dear Lord was it amazing) and a pot de creme for two (pronounced po de krehm in case anyone is wondering...) and then started on the decorations. Now this is where I kind of get out of hand. As in, I tend to go over board in some people's opinions. Somewhere between hanging 25-30 glittery hearts (that I hand glittered) and sprinkling the table with foam hearts I realized they may be right. (And then I snapped out of it and told myself this was completely normal. Yep.... Completely normal.)

Want to see what I mean? Well then today is your lucky day.

(I was inspired by these sparkly heart from ban.do and the glitter aisle at Michaels.)

First, I made a ton of different sized hearts, covered them in Mod Podge and then drowned them in red glitter. Using some hot glue and clear thread, I then hung them (all nimbly bimbly... name that movie) from the ceiling. When I felt fancy, I made strands of 3 sparkly hearts. (I felt fancy approximately 3 times.) Because I got hooked on the glitter, I decided to use some leftover watercolor scraps I had around and drew little glittery hearts on those as well before attaching those to the ceiling as well.

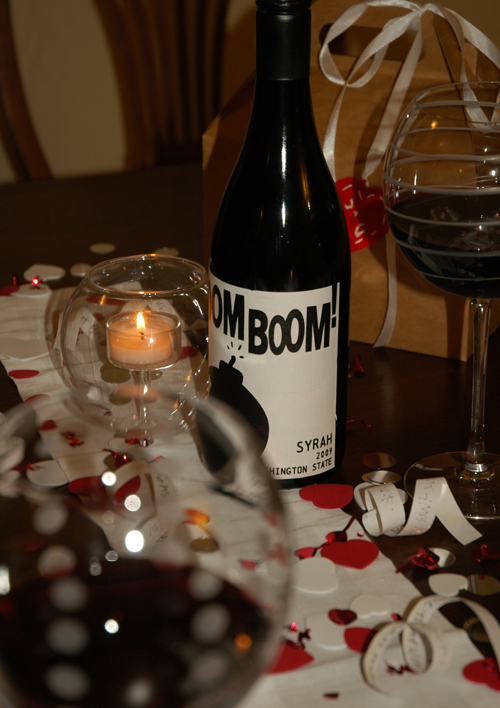
Then came the table. I put down a small white runner that I normally use on our bar (because I was too lazy to iron my white table cloth but needed something white) and then sprinkled red and white foam hearts up and down that. (And then sprinkled on a hand full silver metallic circles and some red metallic "love" and "heart" confetti because I had it and figured I should use it. That was also my reasoning on wrapping the silverware in that garland. Well, that and I wanted to add more red since I was using white napkins and white plates.) Over all of that, I placed a few curled slips of paper that had things I loved about J. written on them. I finished it all off with two crate and barrel glass candle holders and a bottle of Boom! Boom! wine. (Which I am not afraid to admit that I bought simply because I thought the label and the name rocked.)

And this, my friends, is why people think I go over the top. I'll let you all be the judge.

Studio Sneak Peek: Valentines

copyright courtney khail stationery and design

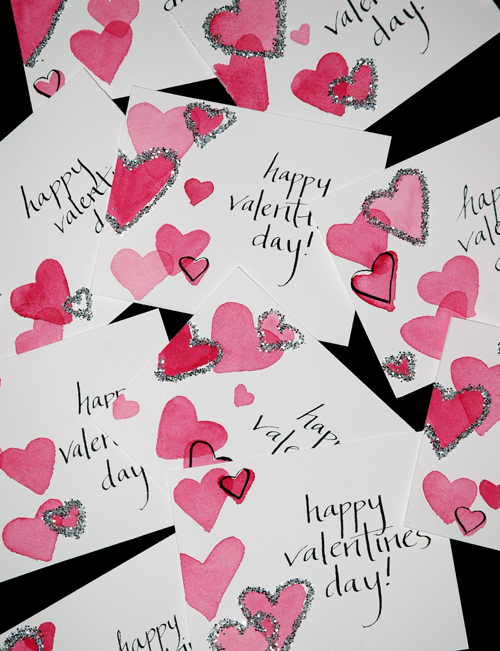
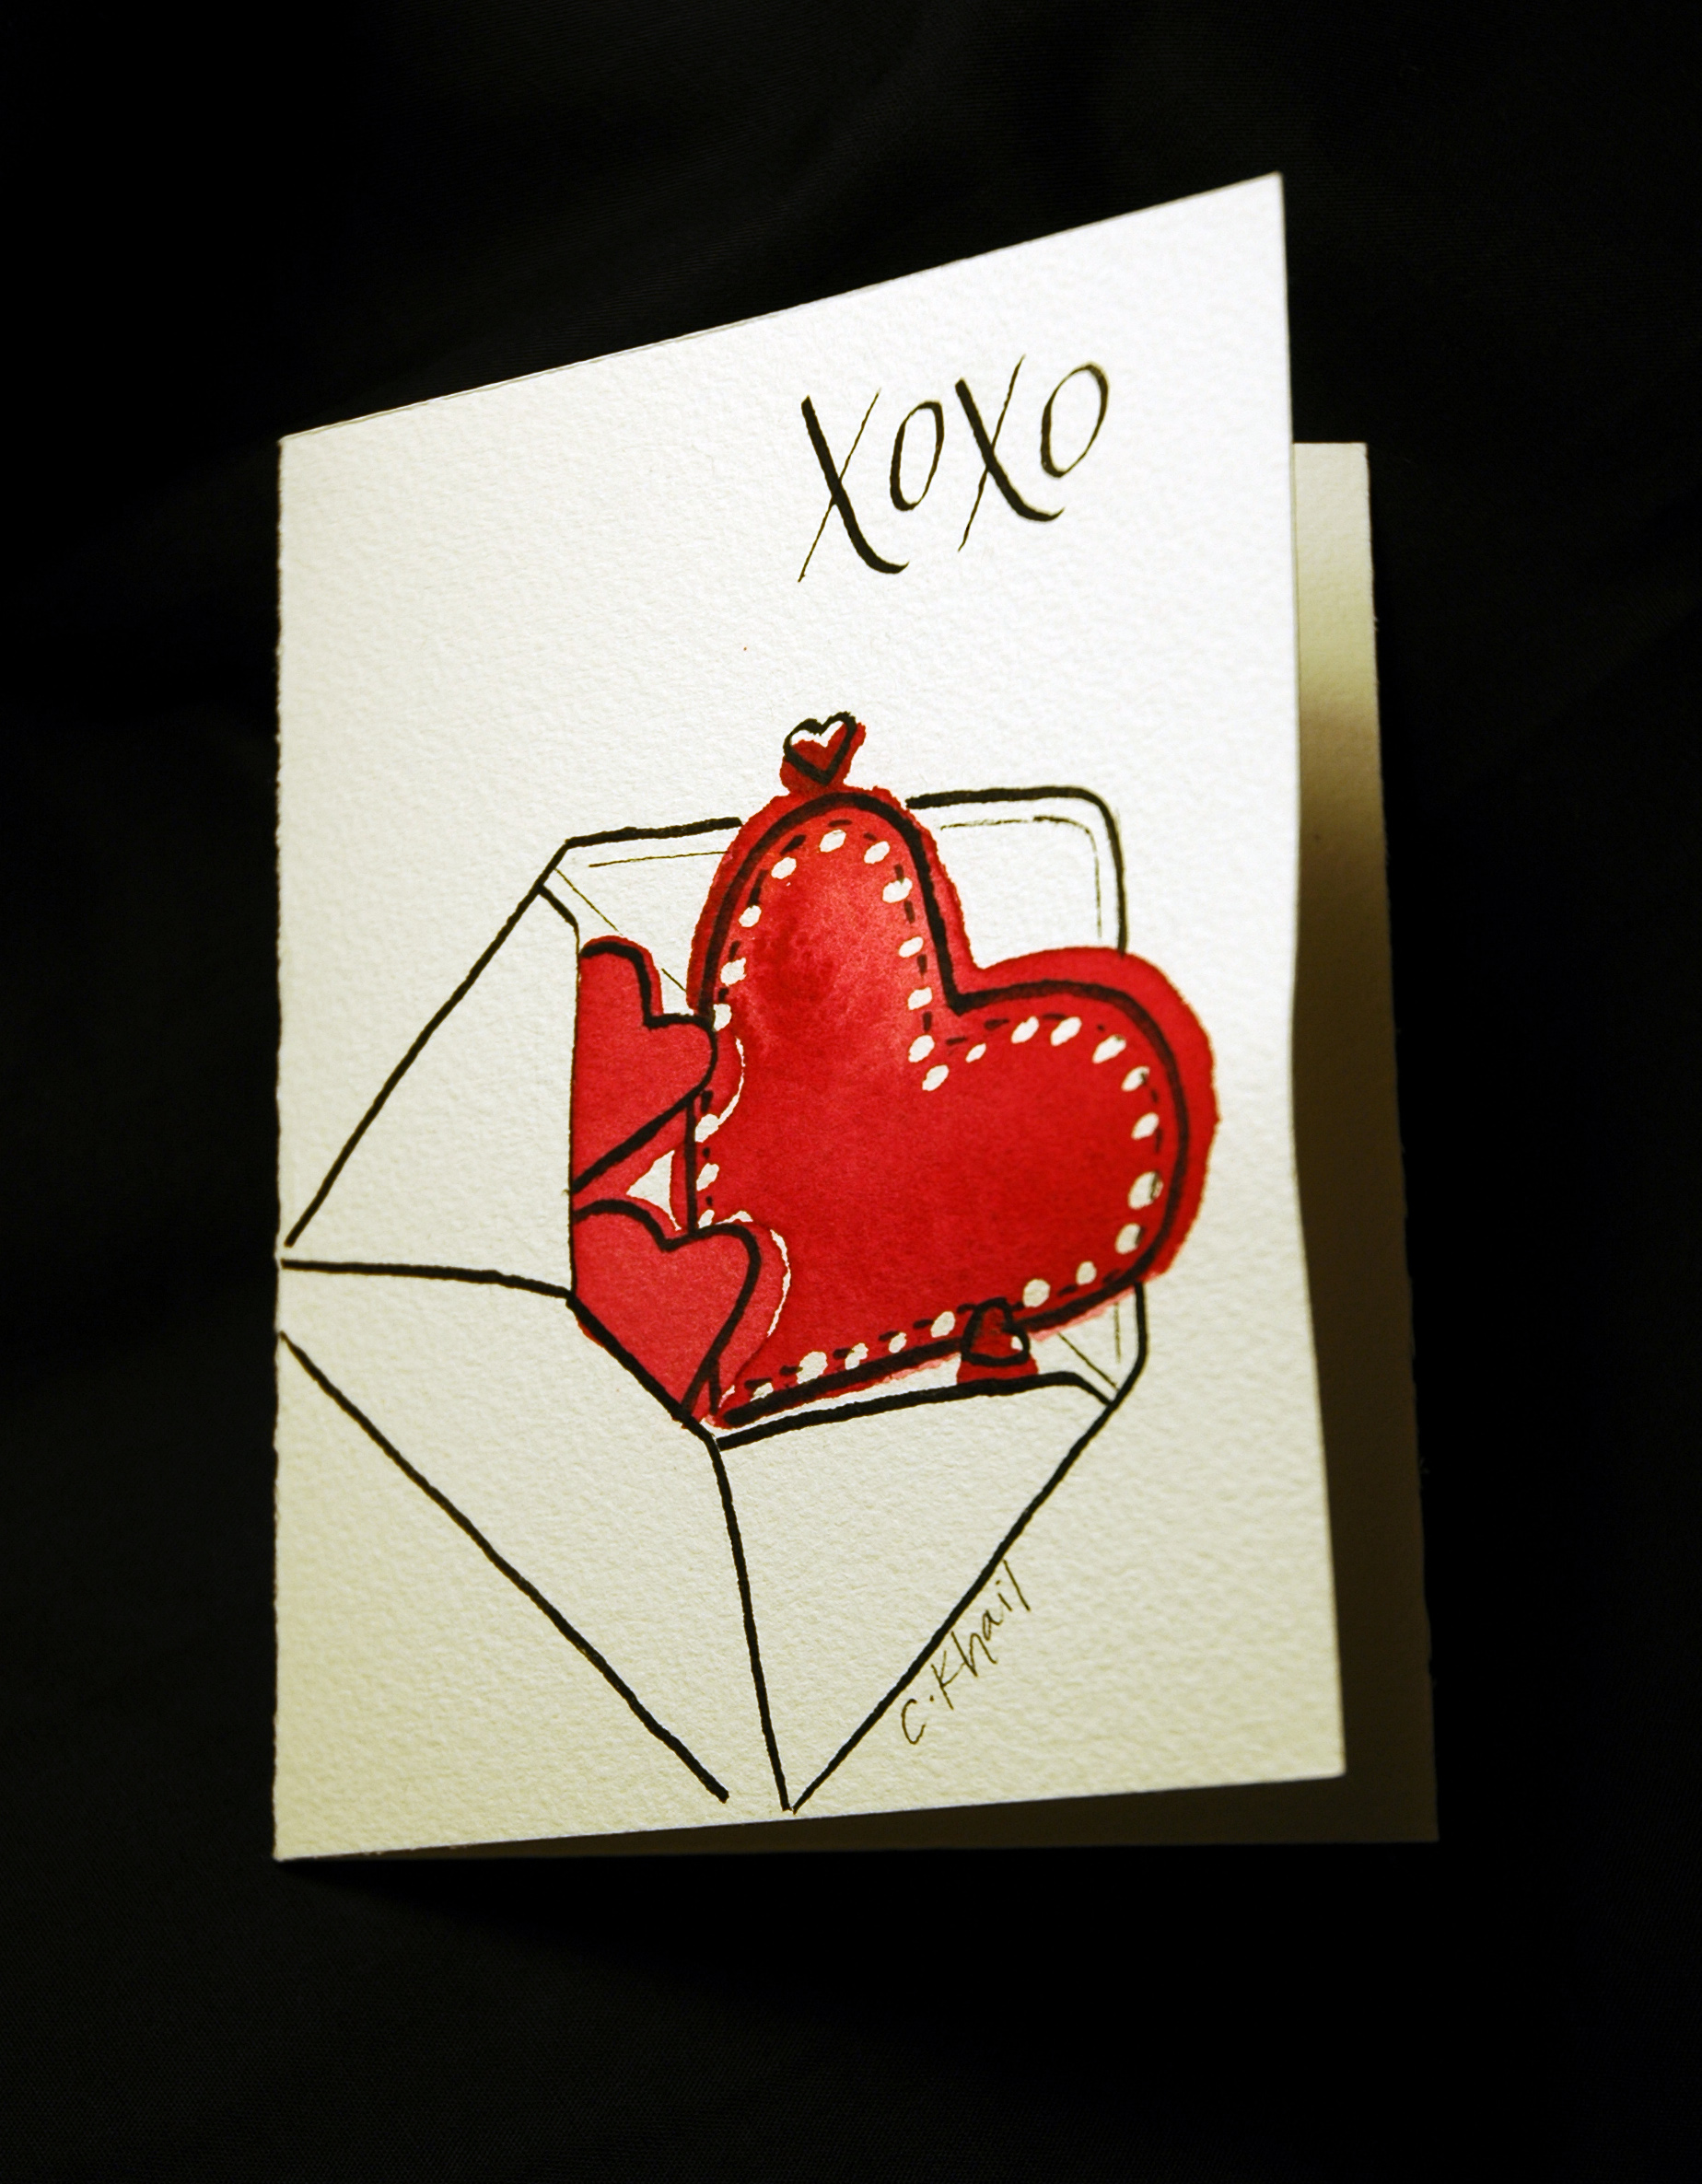
Instead of showing a work project, I thought I'd share a personal one today. With Valentine's Day right around the corner (7 days and counting), I figured it was about time to get these made and mailed out. I had to keep the 5 year old inside me in check when it came to the glitter (I kept wanting to just cover the entire thing) but let's be serious here. What's better than opening your mailbox to find a hand painted Valentine? That's right. Opening it to find a hand painted glittery Valentine.

Studio Sneak Peek: holiday party

copyright courtney khail stationery and design

Let's go ahead and not point out the fact that it's January 17th.. almost exactly one month AFTER this party took place and instead focus on the fact that it's red and white and therefore completely fits with the whole Valentine's Day theme. (Sounds a whole lot better than "Sorry I just got around to uploading this one, guys. I was snowed in all last week and instead of remembering I made mini snowmen like this one

(like the pipe cleaner? yea. me too.)

and watched a lot of bad tv. Speaking of which, is there really a show where brides compete for PLASTIC SURGERY?! What have we come to?! And if that wasn't bad enough, then the 4 brides compete for the "best wedding" show came on. It was about that time when I turned to magazines, only to be hit with "What was Prince Charles thinking when he gave his mother's ring to Kate?! Doesn't he know it's a symbol of a marriage filled with infidelity blah blah blah?" No people, I don't think that's what he was going for. Instead, I think he was thinking, "I want to marry this woman and I happen to also have this kick a** ring that not only is beautiful, but also is one of the only possessions I have left of my mom's. Because of all of that, I think the woman I love should wear it."* HONESTLY. The ring doesn't have to be a diamond to promise love and devotion and it's a little tacky to state in a magazine that it should be one.)

Anyhow, now that I've gotten that off of my chest back to the invitation.

Every year my sister throws a holiday party and this year I decided to help her out with invitations. We were under a tight time line (as in they needed to be designed, printed, assembled and mailed within 2 days) so hand painting was out and instead I tried to keep it as simple as possible.

Not sure my sister would agree that tying candy canes to each one was simple, but overall I think they came out great (despite a little discrepancy of colors between the string and the printing. Apparently no one else besides us noticed, but as I've said before, I'm a little neurotic when it comes to my work and therefore it kind of bugs me. But only a little or else I wouldn't share them.)

Hope you enjoy them!