Celebrations
Happy 4th of July!
by freckled mommy via the pioneer woman
Just wanted to stop in and wish you all an amazing 4th of July. We're taking the day off to celebrate (and find a fireworks show, which due to the fires out here is a lot harder than one might think) so I'll be back later this week. Happy 4th!
Happy (Easter) weekend!
Nothing says Easter like awesome lace collars via my personal collection
Sorry for being MIA this week. My mom came to visit Sunday-Tuesday, I've been working like a crazy woman on wedding orders and note card orders, I volunteered to be part of a silent auction (not something I normally do, but it's for my sister so you know, some exceptions have to be made!) and today was CAMP (a get together for creatives to socialize and inspire each other) at the goat farm hosted by the lovely ladies of the studio space (Ginny Branch, Erica Loesing, Maria Taylor, and Amy Osaba) and the amazing people of Sun in My Belly (true story, I was their event manager's RA in college. Yep, I feel old.)
So yea, it's been a really busy busy week. Promise I'll be back next week. But to make things better, how about a childhood photo from the 80's to make up for it? Yea, I thought that might help. Have a wonderful weekend everyone! (Good luck finding the golden egg!)
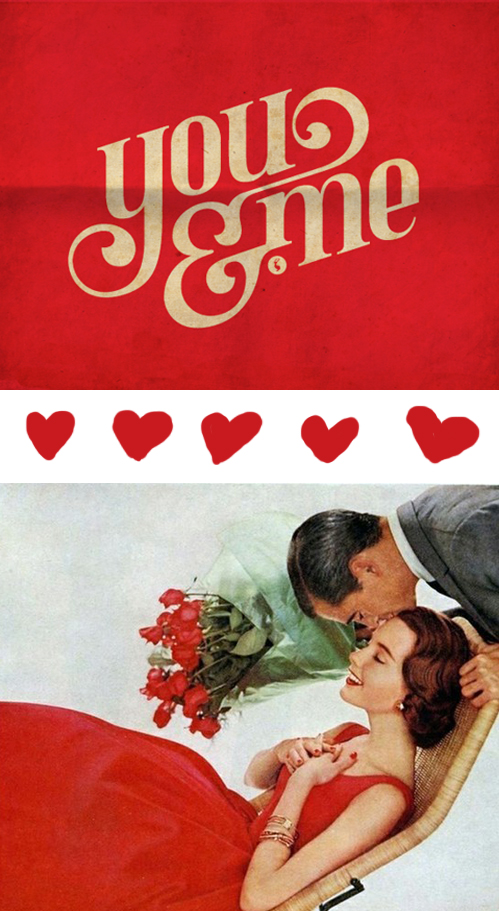
Color Inspiration: Scarlet and White
you and me via here, heart doodles via me, vintage photo via here
Happy Valentine's Day everyone! I hope you all are surrounded by love and warmth today. And maybe some glitter or sequins for good measure.
And for your enjoyment, here is a conversation between my sister and myself this morning:
Sister:"I'm sorry to call so early because I'm sure you're doing something uuber pookie like making heart-shaped pancakes."
Me: "Waffles."
Sister: "What?"
Me: "I'm making heart-shaped waffles."
Sister: "Of course you are."
Oh I love her. Have a great day everyone!
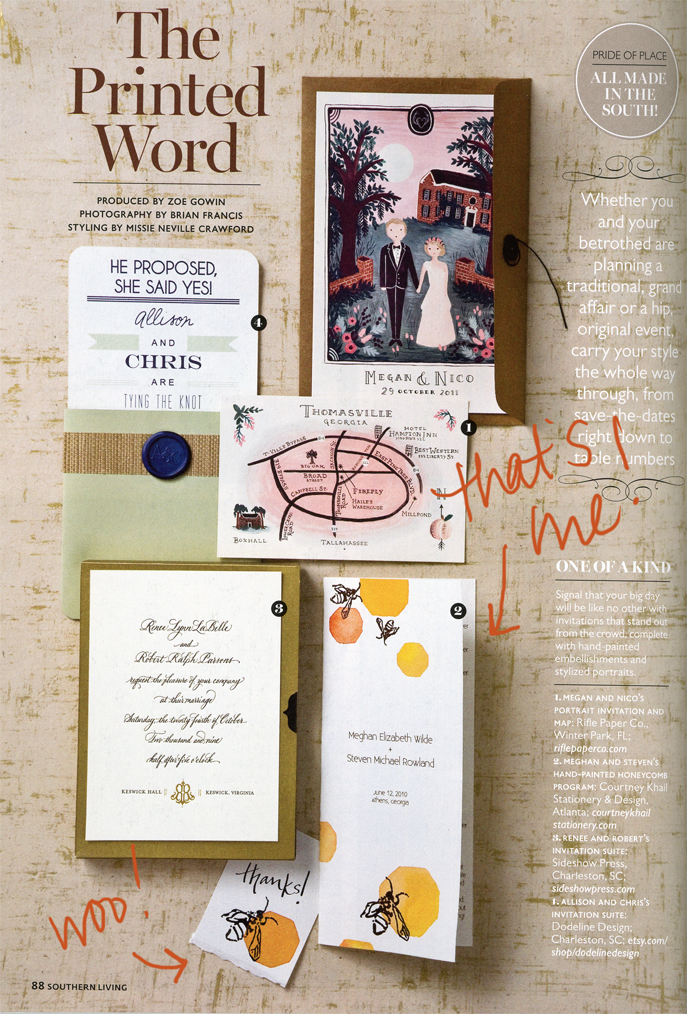
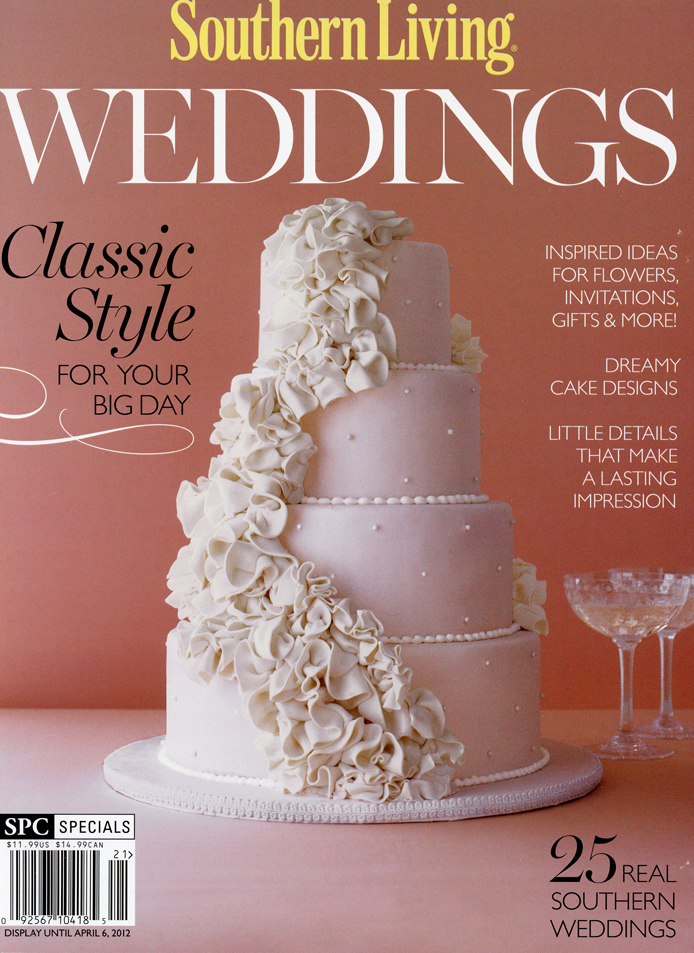
Courtney Khail in Southern Living Weddings!
 I can't believe it's taken me so long to post about this. But if we're being honest here, it's not like I didn't share the news like crazy before now (i.e. facebook, twitter, random outbursts in the grocery store magazine aisle...sorry random lady if my squeals and charlie brown-esque dance moves freaked you out.)
Though if by chance you don't follow me on twitter (but why wouldn't you? Don't you want to know my every last thought? yea. I thought so. Here is the link.) or on facebook (again, come on. Here is the link) or if by change you don't, you know, know me in real life in which I probably told you myself... then this post is just for you!
And while you probably already figured it out (hello title) I wanted to let you know that my work was featured in Southern Living Weddings!!! I'm still kind of giddy about it and feel super honored to be included. I'm actually getting emails and texts from people saying "hey! I saw your work!" which is really, really cool. So, yep. That's the exciting news!
And of course, a huge thanks and out pouring of gratitude goes out to Zoe over at Southern Living Weddings! I am so thrilled and humbled you included my work in your piece.
From the Studio: DIY Watercolor Valentine's
Every year I make my own Valentine's. Something about the glue and the glitter and the paint transports me back to the days of elementary school where every one makes a "Valentine Box" and gives EVERY single person in their class a card. (I know some people may think that it's annoying to have to give everyone a card, but I remember seeing how happy and surprised some kids were to get cards and it always made me smile.) And to be honest, unlike a lot of people, I love Valentine's Day. Not the whole "I have to buy you chocolates and a cheap card or else I don't love you" mentality sometimes adopted, but the idea that for one whole day you get to go overboard in showing how much you care about someone. Or someone's. My family is really big on Valentine's Day. Like wake up to a Valentine's Day celebration complete with presents before school kind of big. What can I say, we're saps when it comes to love. Anyhow, back to the point. Given that I make Valentine's every year, I thought I would show you all a creative (and really simple) way to make some for yourself. (I taught this trick to my Alt classes as a test run and it went really well so hopefully it does for you too!)
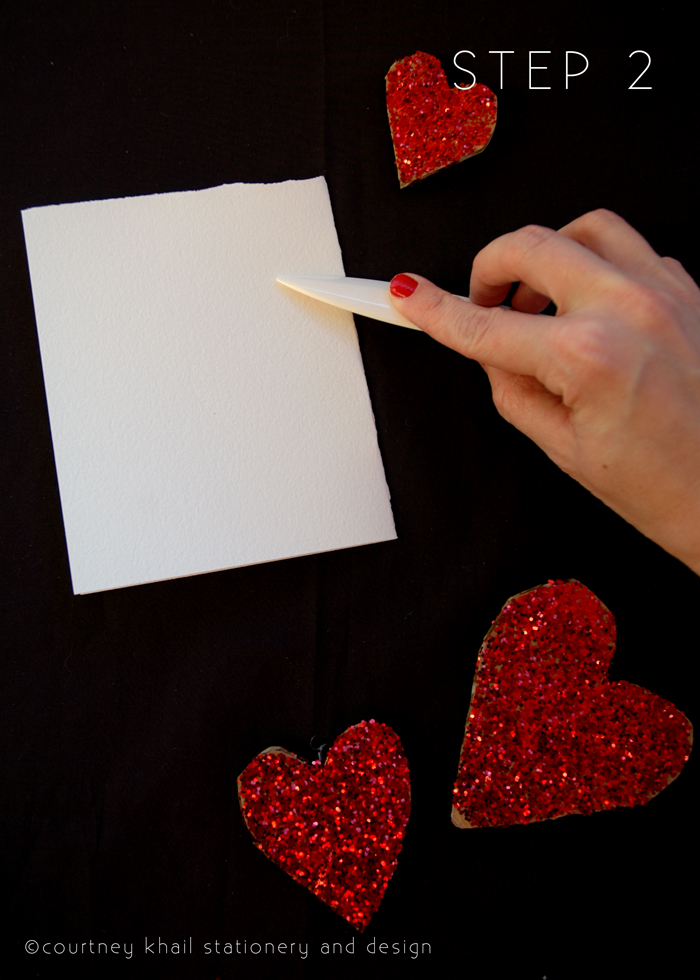
Step One: Get all of your stuff together. You'll need paper (I wanted an A2 sized card so my paper is 8.5"x5.5" but you can use whatever size you have) a watercolor brush, watercolor paint, a bone folder (or credit card. No reason to buy something you don't absolutely need) masking fluid and an old small paintbrush that you don't care if it gets ruined because it will. If you'd like to feel fancy, feel free to place some glittery hearts around- you know, for the mood.
Step Two: Using your bone folder, fold your paper in half and crease the edges. I did a vertical fold, but horizontal would work well too.
Step Three: Using the brush you're going to ruin, paint a design on your paper using masking fluid. It doesn't need to be super thick, but you'll want to make sure the fluid makes a complete solid layer wherever you place it. I did X's and O's because my parents used to play tic tac toe over the phone when they were dating long distance and I always associate that with love and therefore Valentine's Day.
Step Four: After it has FULLY dried-test with the back of your hand never the front because it will leave oil behind and water and oil don't mix- combine a dime sized amount of watercolor paint with clean water and use that to paint over the entire design.
Step Five: Once the paint is completely dry, take a regular white eraser (or any eraser, I just like that you don't have to worry about color transferring with a white one) gently erase away the masking fluid. It should start acting a lot like rubber cement does when you rub that away. After the entire card is erased clean of masking fluid, dust off any left over residue.
Step Six: Step back and take a moment to admire your handiwork.
See? Super easy. And if you'd like, add some glitter, write a message inside and mail it off to a deserving loved one. I'd suggest in a pretty red or pink envelope because that makes it even more awesome to receive.
All photos copyright of courtney khail stationery and design. Feel free to re-post, but please give credit and be sure to link back to this post.
From the Studio: Altitude Design Summit Photo Recap
I started writing a recap of this past week's Altitude Design Summit when I realized that words wouldn't really do it justice. The friends I made, the colleagues I met, and the lessons I learned will stick with me forever. (A special emphasis on the friends. I met some of the most amazing people!) If you ever have an opportunity to go to ALT, I'd strongly suggest you do- I promise it will be amazing. And since I didn't think words would suffice, here is a photo recap:
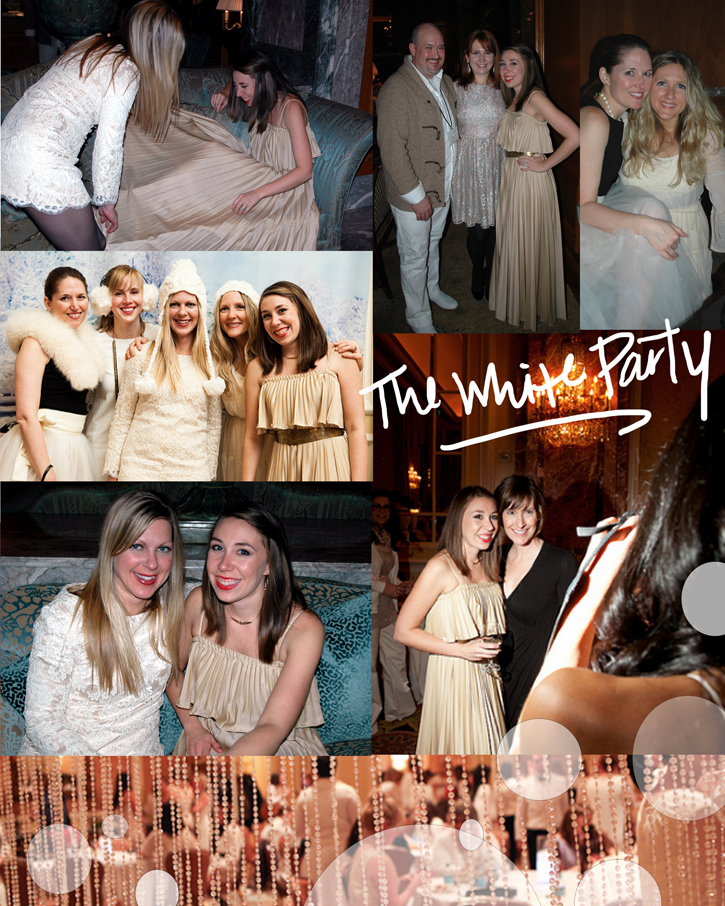 Thursday night White Party (so pretty to see everyone in winter-y colors)
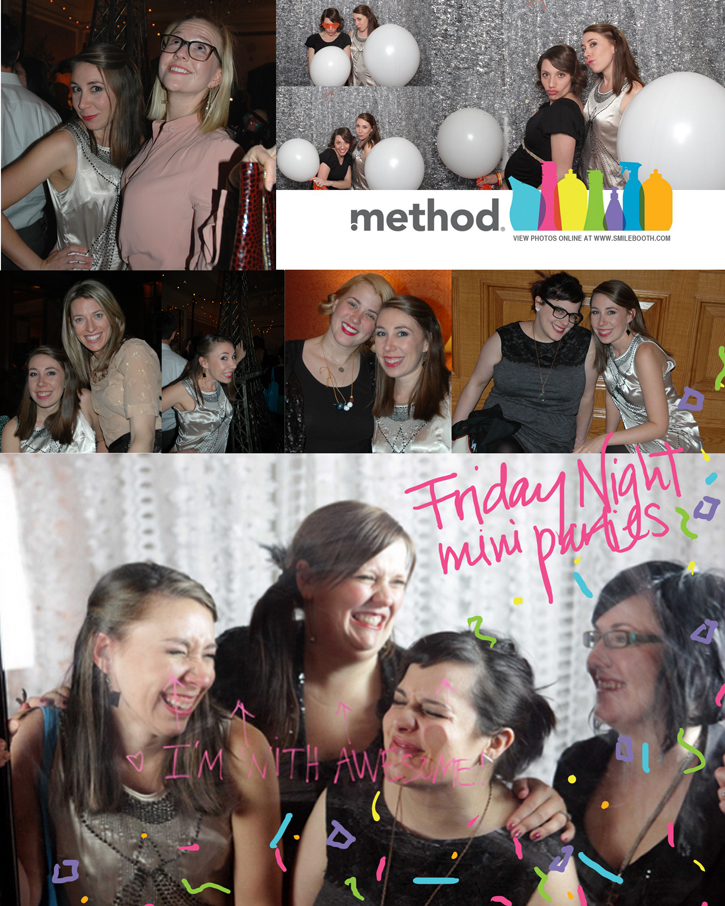 Friday night mini parties ranged from A Night in Paris to Year of the Chinese Dragon
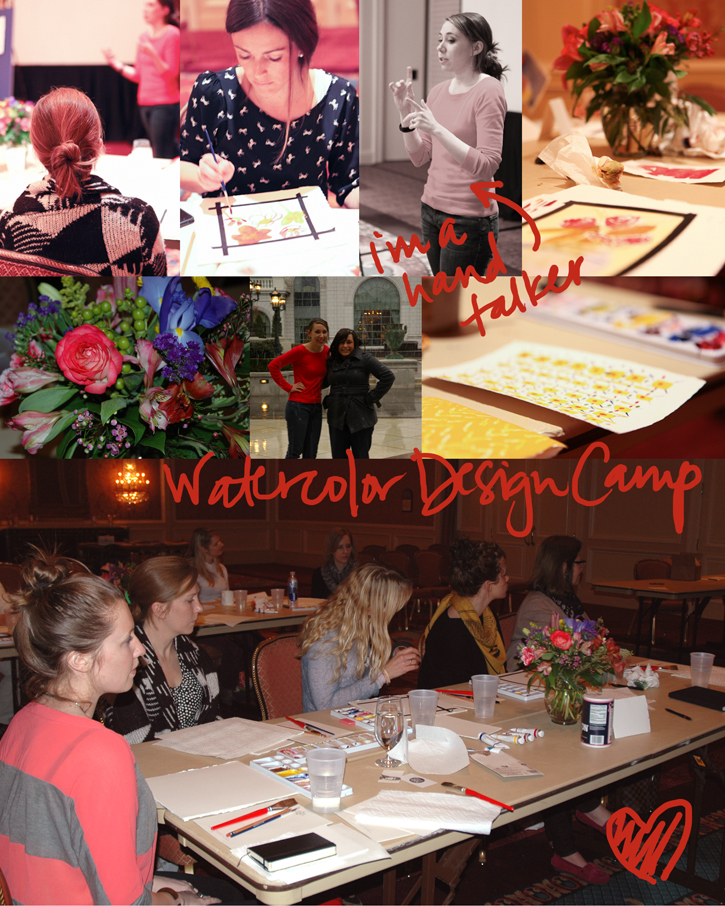 I loved teaching my watercolor class! I seriously had the best students ever. (It started to snow so we ran outside to get a few photos.)
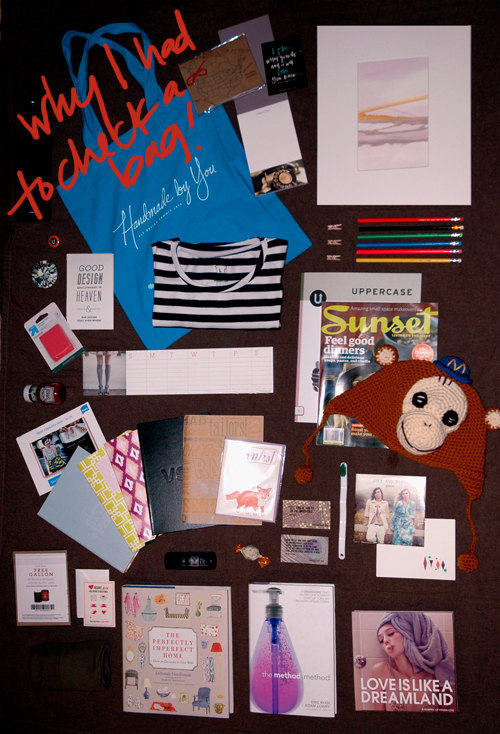
holy cow we got a lot of cool stuff. Not pictured- awesome triangle earrings that one of my roomies, Kelly, fell in love with, and like a pound of candy.
photos via courtney khail, b.a.d. photography, moss + isaac, and justin hackworth
From the Studio: Happy Birthday!
via the berry
Hi everyone- I won't be around today because it's my birthday! Woo! So instead of posting, I'll be opening presents, eating cake, and generally just having a fun day. Hope you understand. Have a wonderful Monday!!
Happy New Year!
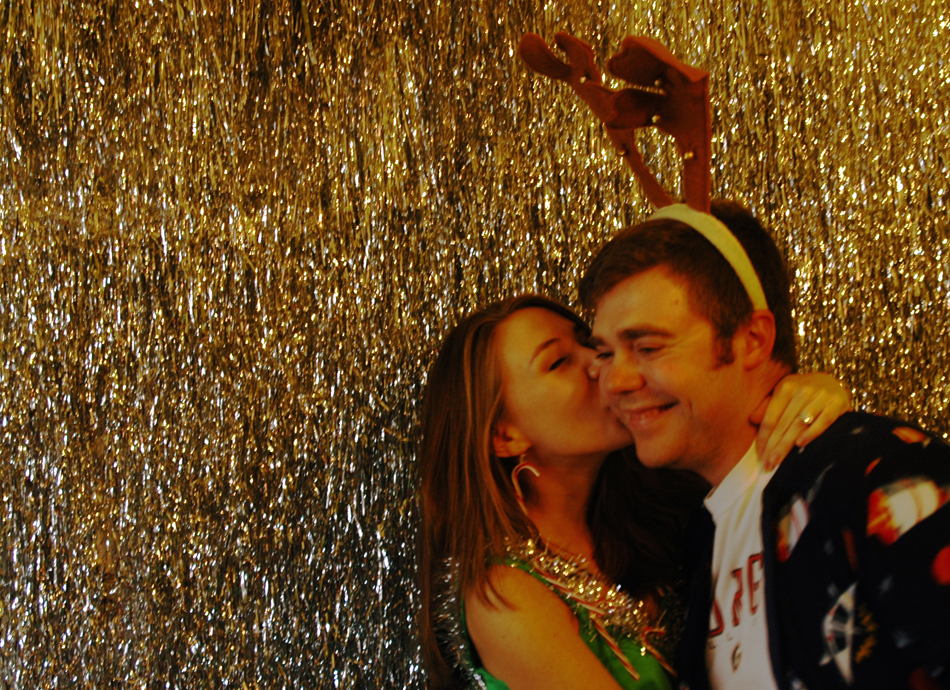
photo from our friends' annual tacky Christmas party (p.s. I made the backdrop our of metallic gift filler and tape. I couldn't find foil wrapping paper, so I improvised.)
This year has been a whirlwind of amazingness. There have definitely been some downs- my grandmother passed, illness, sickness, etc- but there have also been numerous ups- like taking a cross country road trip, finding out we're moving to Denver, meeting (and working) some lovely new friends, as well as spending time with our nearest and dearest. Personally, I can't wait for what next year has in store for us! And of course, I can't wrap up the year without thanking you all so much for your support and your encouragement this year. It means so much!
So let's put on the sequins, break out the bubbly, and toast to a great 2011 and an even greater 2012! Happy New Year everyone!
Merry Christmas!
Happy Anniversary Sweetheart!
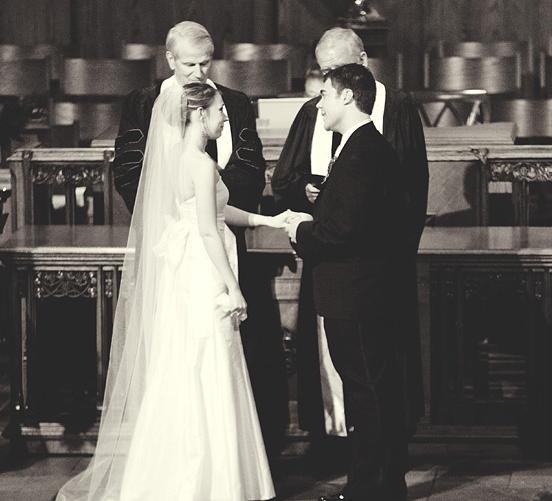
exchanging our vows.
Awesome tidbit- the man on the left, Dr. McCall, not only married us here, but married my parents in the exact same spot (with the same vows) some thirty years before.
Exactly four years ago, J got down on one knee and asked me to be his wife. One year later- three years to the day-we stood in front of our family and friends and promised to love each other for better or worse, in sickness and in health, and in joy and in sorrow. By far, it's the best decision I've ever made. Thank you for making life so amazing, J; you seriously are the best. I am so lucky to be married to such a wonderful person. Happy anniversary, sweetheart- I love you!


